BOOtiful Creations
October 30, 2018
With Halloween just a few days away, it’s the perfect time to get into the spirit and try out your baking and crafting skills. Here’s a few recipes and decor ideas help you start feeling spooky.
Recipes :
Witch Hat Cookies
Ingredients:
Hershey Kisses
Chocolate chips
White vanilla frosting
Food coloring
Sugar cookies (pre-made, or home-made)
Directions:
- Place the semi-sweet chocolate chips in a microwave safe bowl, melt in 30 second intervals, stirring in between, until completely melted.
- Place wax paper on a cookie sheet and dip each cookie into the melted chocolate. Clean off the edges of the chocolate covered cookies and place onto the wax paper. Refrigerate until the chocolate hardens.
- Depending on the amount of colors you desire, divide the frosting into bowls. Add a few drops of food coloring to each bowl and stir in the color until the vibrancy is as desired.
- Remove the chocolate covered cookies from the refrigerator. Add a dollop of icing to the center of the cookie and press down Hershey kiss on the icing to form a colored ring around the bottom.
- Allow the icing to set, and enjoy! (inspired by DizzyBusyandHungry.com)
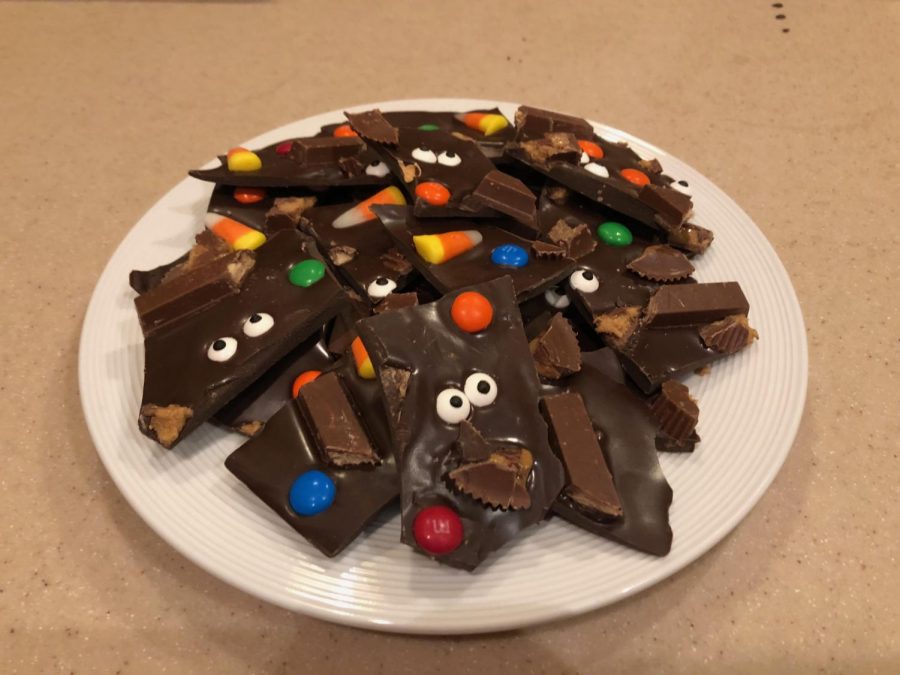
Spooky Halloween Bark
Ingredients:
Chocolate Chips
Candy Corn
Kit Kats
M&Ms
Candy Eyeballs
Directions:
- Place the semi-sweet chocolate chips in a microwave safe bowl, melt in 30 second intervals, stirring in between, until completely melted.
- Place wax paper on a cookie sheet and pour the melted chocolate on the prepared cookie sheet. Spread the chocolate in an even layer.
- Add the various candies to your chocolate before it cools, pressing each candy in gently to ensure it stays in place.
- Refrigerate until cool.
- Once completely hardened, using a knife or your hands, break apart the bark into smaller pieces, and it’s ready to eat!
DIY Decor:
Pumpkin Yarn Garland
Supplies:
Green pipe cleaners
Orange yarn
Scissors
Twine
Directions:
Step 1: Wrap the orange yarn around 4 fingers about 135 times.
Step 2: Cut a 10 inch piece of yarn and wrap it around your yarn loop, once it’s centered, pull tight and create your pumpkin yarn ball.
Step 3: Tie a 2 inch piece of green pipe cleaner to the loose strands of yarn, twist the pipe cleaner to create the stem.
Step 4: Fluff out the yarn on your pumpkin until you achieve your desired look.
Step 5: Tie the loose strands of yarn onto the twine and continue until the garland reaches the length of your liking.
Step 6: Hang your new pumpkin garland and enjoy your new piece!
Boo Sign
Supplies:
Wooden letters spelling “BOO”
Paint
Paint brushes
Halloween themed ribbon
Directions:
Step 1: Once you have all supplies prepared, find a painting workspace and begin painting each letter your desired color. Allow paint to dry.
Step 2: Once the paint has dried, attach each letter in a vertical manner using the ribbon of your choice.
Step 3: Using the same ribbon, tie a bow at the top that will be used to hang your sign.


